Skip to content
Contacts

Companies & Individual Contacts

Contacts

Companies & Individual Contacts

Understand the company/individual hierarchy, link contacts to parent companies, and manage multi-site corporate relationships.

5 steps Updated Mar 7, 2026 SOP · Standard

Odoo separates contacts into Companies (organisations) and Individuals (people). Individuals can be stand-alone contacts or linked to a parent company. This hierarchy drives address auto-fill, invoice grouping, and reporting.

1

Understand the Company vs Individual Model

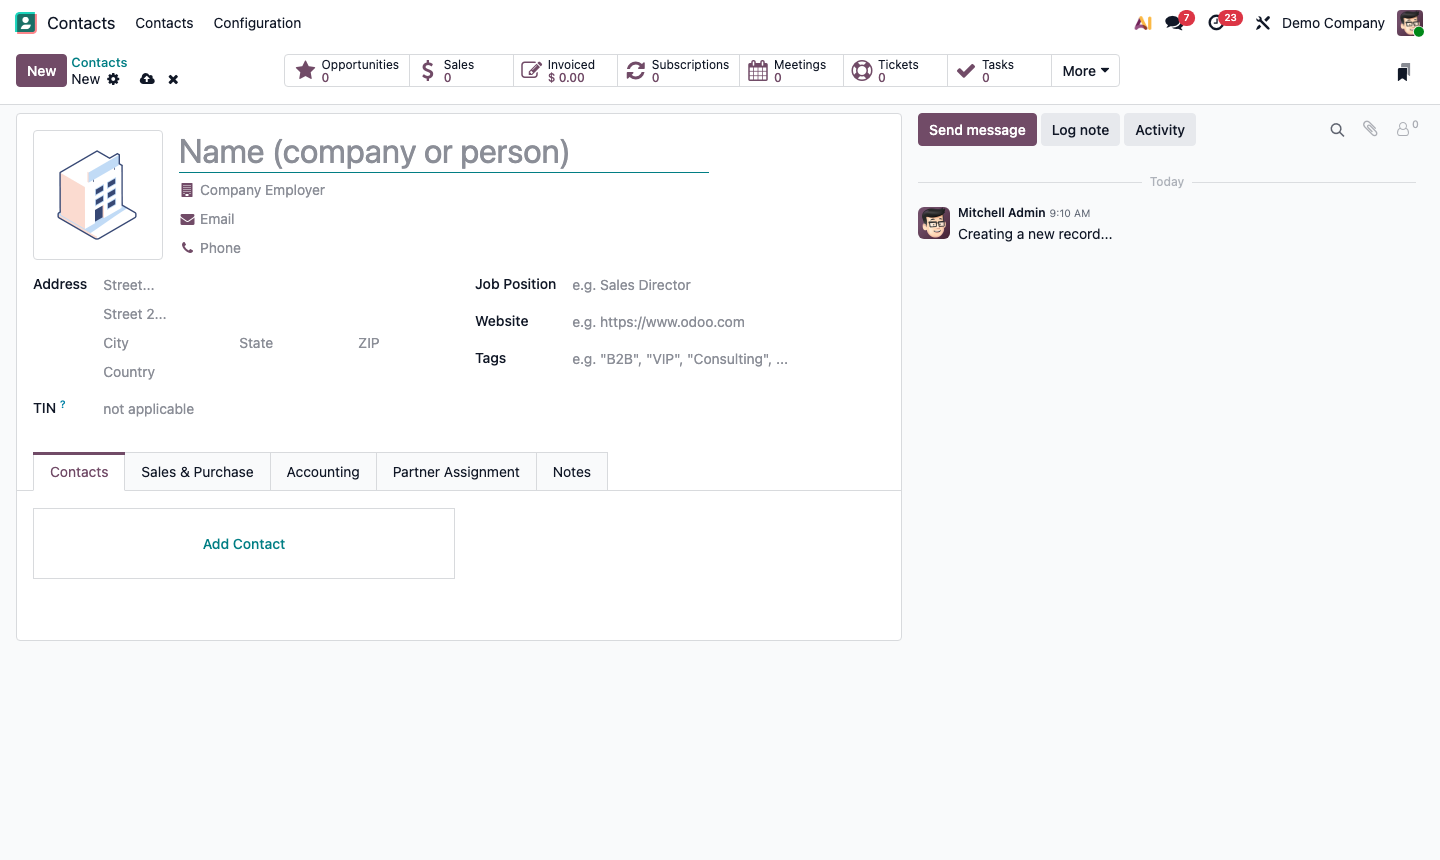
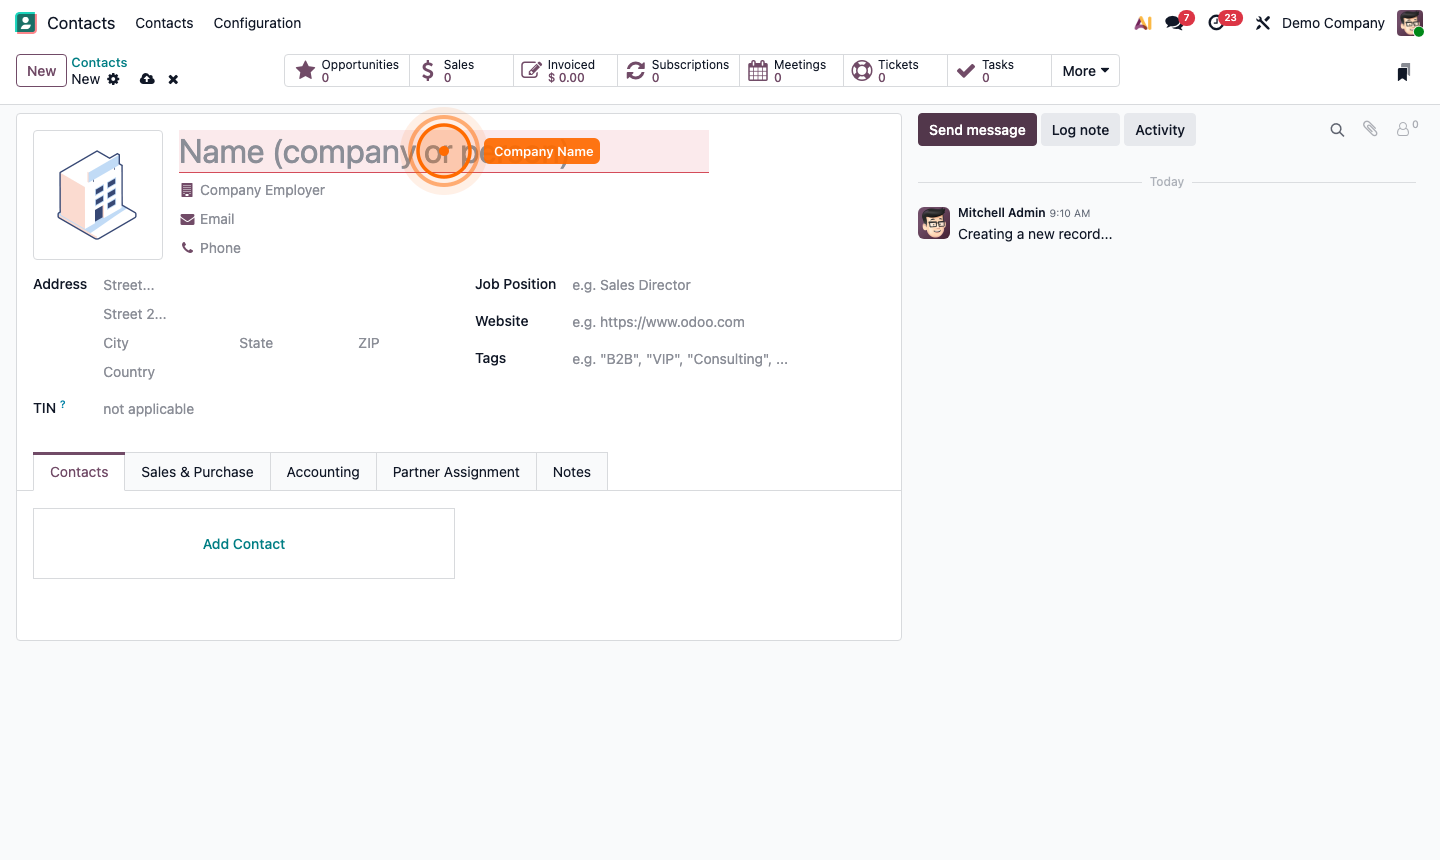
When you open a contact, the first field is a toggle:

  • Company — an organisation (no parent). Has its own invoice address, payment terms, and pricelist.
  • Individual — a person. Can be stand-alone or linked to a Company via the Company Name field.

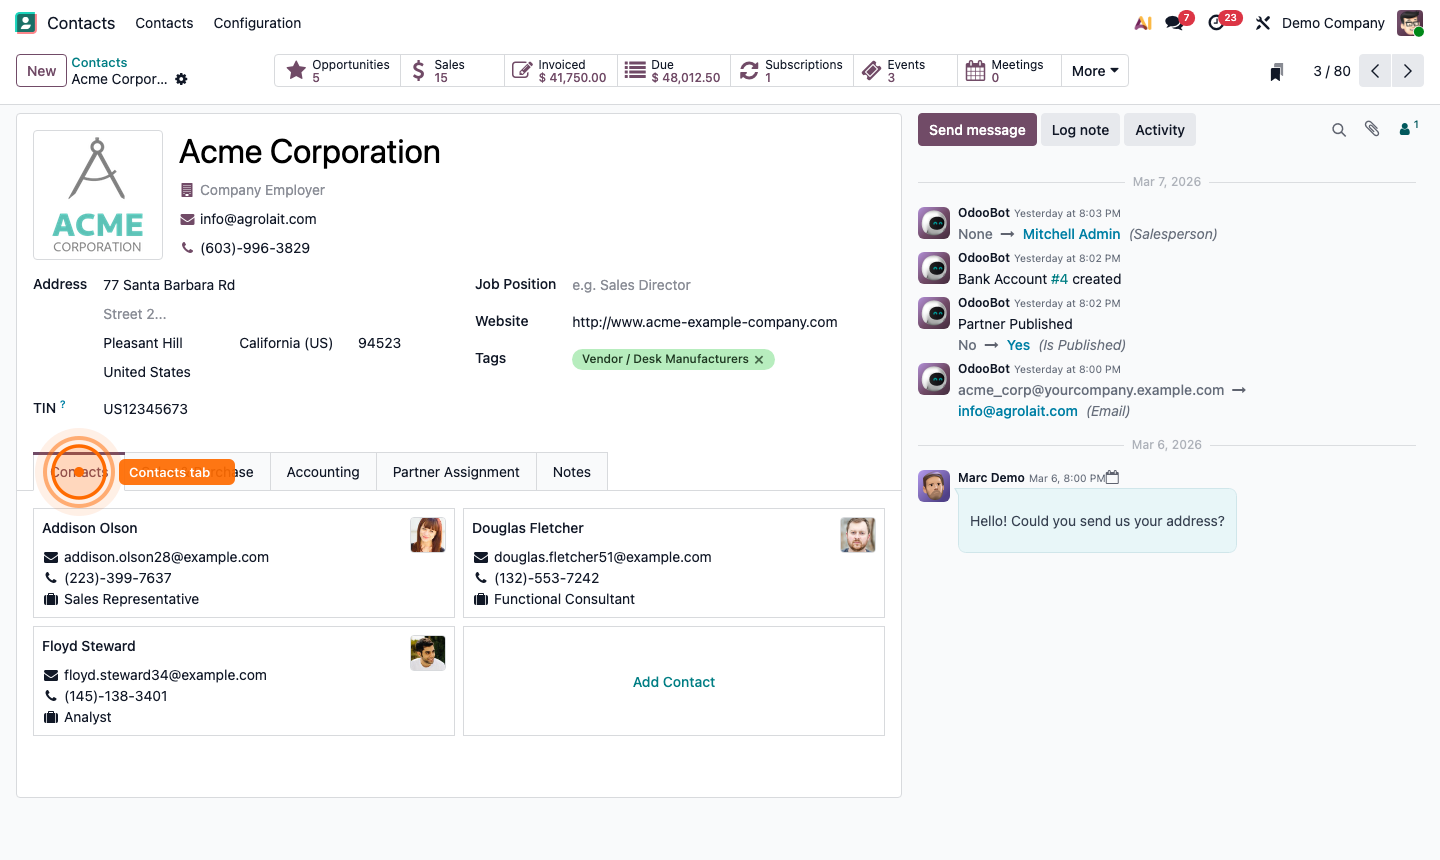
When an individual is linked to a company:

  • Their contact form shows the company name below their name
  • Odoo auto-fills the company’s address when sending invoices or deliveries
  • The company record shows a Contacts smart button listing all linked individuals

Most B2B workflows use Company contacts for invoicing and Individual contacts for day-to-day communication.

Step 1: Contact form showing Company/Individual toggle and Company Name link field

2

Create a Company Contact

Click New. Set the toggle to Company.

Fill in:

  • Company Name (required)
  • Website — auto-displays on the contact profile
  • Phone and Email — the main company switchboard/inbox
  • Street, City, Country — used as the default billing address

In the Sales & Purchase tab:

  • Salesperson — the account manager for this company
  • Payment Terms — override the system default for this customer
  • Pricelist — assign a customer-specific pricelist
  • Customer / Vendor — check both if they are both

Click Save.

Step 2: New company contact form with name, address, and Sales tab fields

3

Add Individuals to a Company

Open the company contact. Click New in the Contacts tab (or click Add in the list).

Alternatively, create a new contact, set toggle to Individual, and type the company name in the Company Name field — Odoo will link it automatically.

The individual inherits the company’s address by default. Override specific fields (like a direct email or mobile) without affecting the company record.

Common individual roles to add per company:

  • Accounts Payable contact (for bills and payment reminders)
  • Technical contact (for support tickets)
  • Decision maker / CEO (for sales opportunities)

Step 3: Company record showing Contacts tab with linked individual contacts

4

Configure Multiple Addresses

Large companies often have multiple sites (HQ, warehouses, billing address). Odoo handles this via Contact Types on child contacts.

Open a company. In the Contacts tab, click Add. Set the Contact Type:

  • Contact — a person at the company
  • Invoice Address — used as the billing address on invoices
  • Delivery Address — used as the ship-to address on delivery orders
  • Other Address — for reference only
  • Private Address — hidden from non-HR users

When creating an invoice or delivery for this company, Odoo prompts you to select the appropriate address.

Step 4: Child contact form showing Contact Type options for Invoice and Delivery addresses

5

Merge Duplicate Contacts

Duplicate contacts naturally accumulate. Merge them to keep your address book clean.

  1. Go to Contacts list view.
  2. Select the duplicate contacts using the checkboxes.
  3. Go to Action → Merge.
  4. Choose the Master Contact (the one to keep).
  5. Review merged fields and click Merge.

All transactions (invoices, opportunities, orders) linked to merged contacts are transferred to the master contact. The duplicate is archived, not deleted.

Step 5: Merge contacts dialog showing master contact selection and field comparison