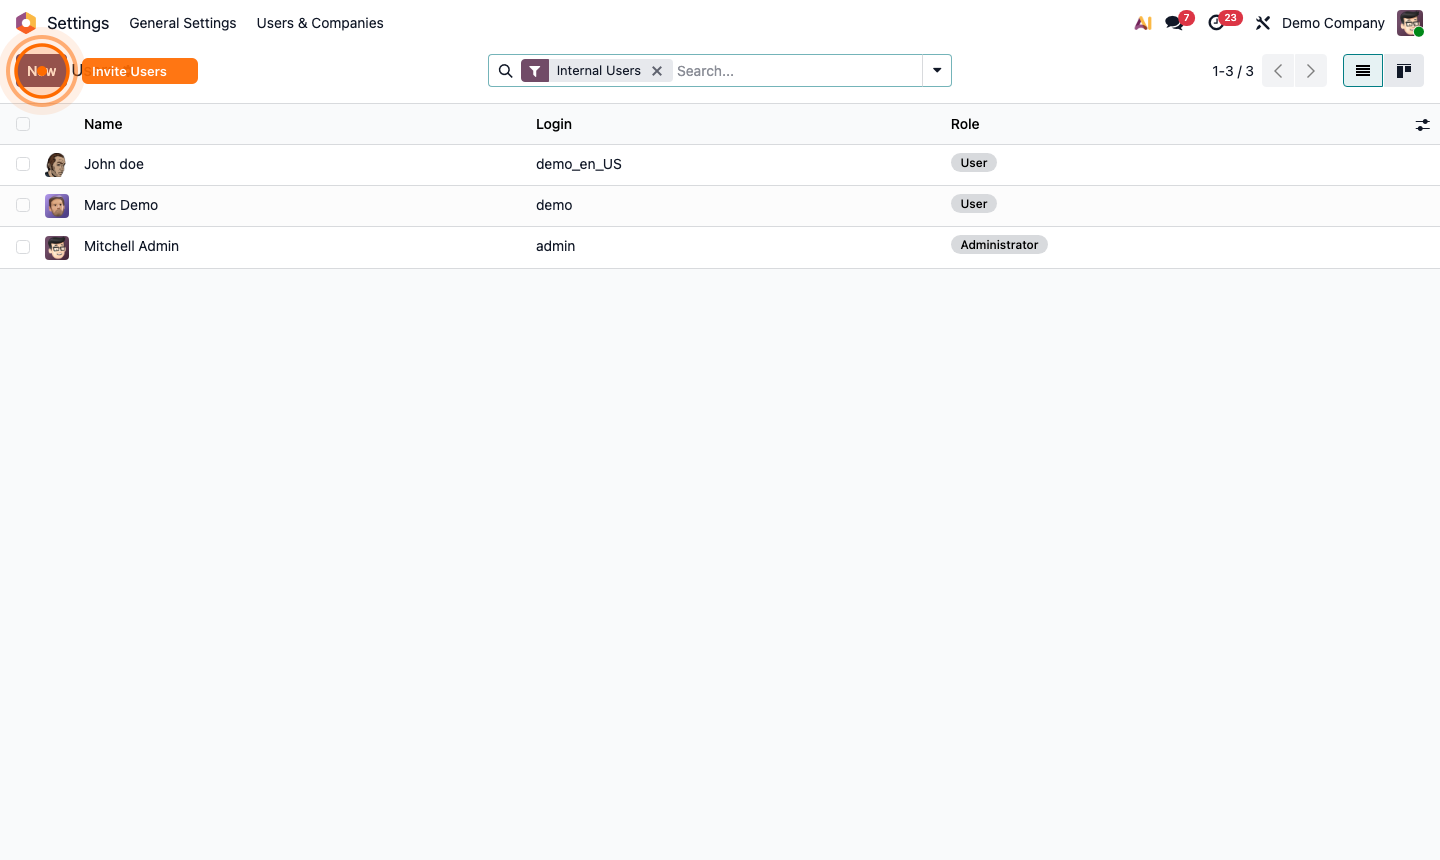
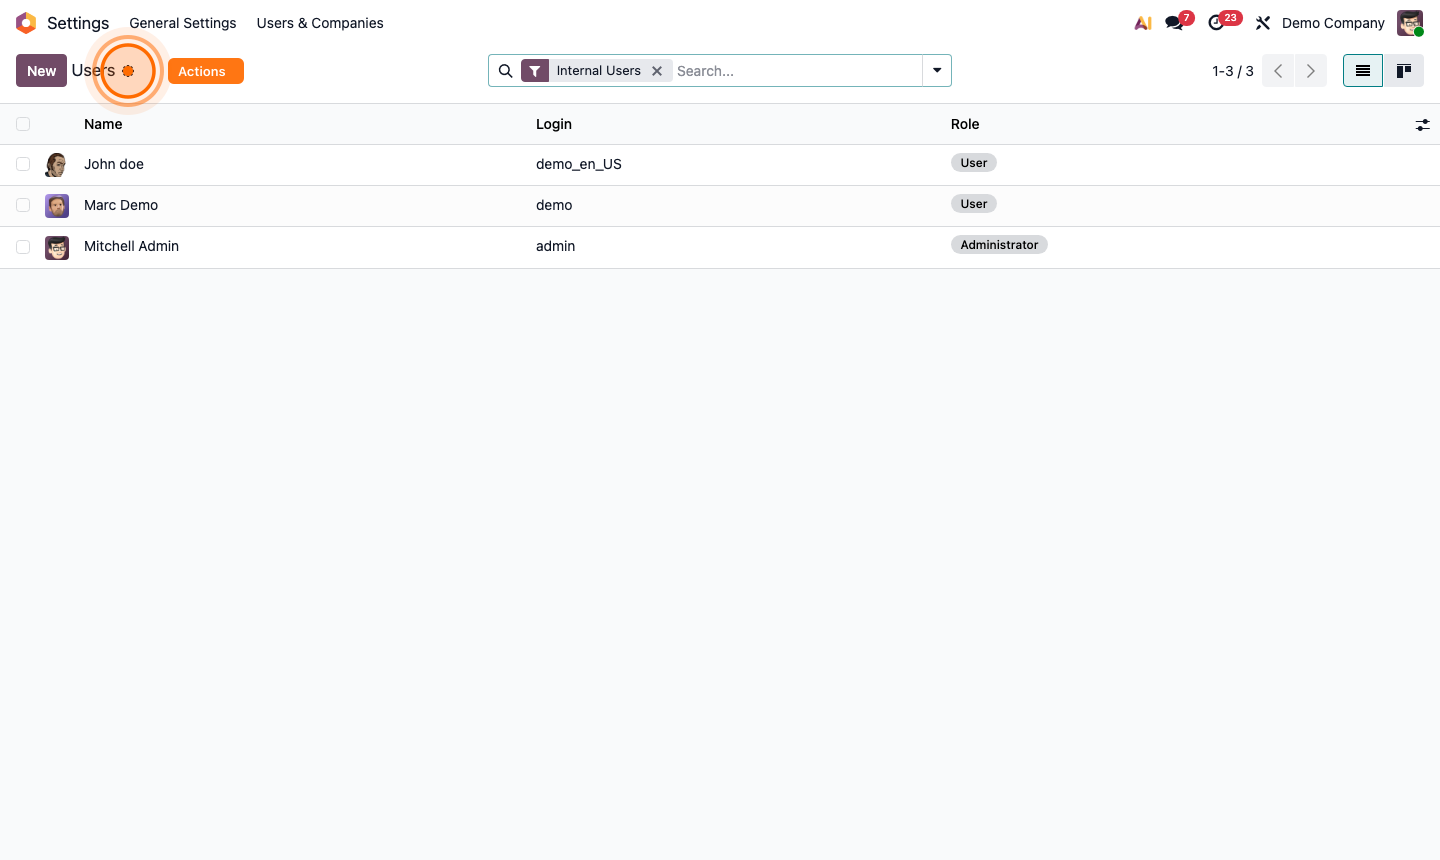
Skip to content
Settings

Managing Users & Access Rights

Settings

Managing Users & Access Rights

Invite team members, assign roles, and control module-level permissions across your Odoo instance.

5 steps Updated Mar 7, 2026 SOP · Standard

Users are the people who log into and operate your Odoo instance. This guide covers inviting new users, configuring their access rights per module, and deactivating accounts when needed.

1

View Existing Users

Go to Settings and click Users & Companies in the top menu bar, then select Users.

The list shows all internal users with their name, login, and role. The default filter shows Internal Users only. Remove the filter to also see portal or public users.

Step 1: Users list showing all internal users

2

Invite a New User

The quickest way to add a user is via the invitation field in Settings → General Settings, under the Users section at the top.

  1. Enter the new team member’s email address in the “Invite New Users” field.
  2. Click Invite.
  3. Odoo sends them an email with a link to set their password and log in.

Pending invitations are shown as tags below the field until the user accepts.

Step 2: Invite new users field in General Settings

3

Edit a User's Access Rights

From the Users list, click any user’s name to open their record. On the Access Rights tab:

  • Role: set to User or Administrator
  • Companies: assign which company or companies this user belongs to
  • Module permissions: each section (Sales, Accounting, Inventory, etc.) has its own dropdown — blank = no access, User = standard, Administrator = full admin

Click Save when done.

Step 3: User access rights tab with module permissions

4

Set User Preferences

Click the Preferences tab on a user record to configure:

  • Language — the UI language for this user
  • Timezone — important for scheduling and date accuracy
  • Notification preferences — how they receive activity reminders

These can also be set by each user themselves from their own profile menu.

Step 4: User preferences and language settings

5

Deactivate a User

When a team member leaves, deactivate their account rather than deleting it. This preserves all historical data and audit trails.

  1. Open the user record.
  2. Click the Action menu (gear icon ⚙) next to the user’s name.
  3. Select Archive and confirm.

The user is immediately locked out. Their past records, documents, and activities remain intact and can be reassigned.

Step 5: Users list — use the gear menu to archive a user