Skip to content
Contacts

Tags & Segmentation

Contacts

Tags & Segmentation

Use tags, filters, and saved searches to segment your contacts for targeted outreach, reporting, and automated workflows.

5 steps Updated Mar 7, 2026 SOP · Standard

Tags are free-form labels that let you categorise contacts beyond the built-in fields. Combined with Odoo’s powerful filter and group-by tools, tags become the foundation for segmentation — whether for a marketing campaign, a sales territory review, or a customer health analysis.

1

Add Tags to a Contact

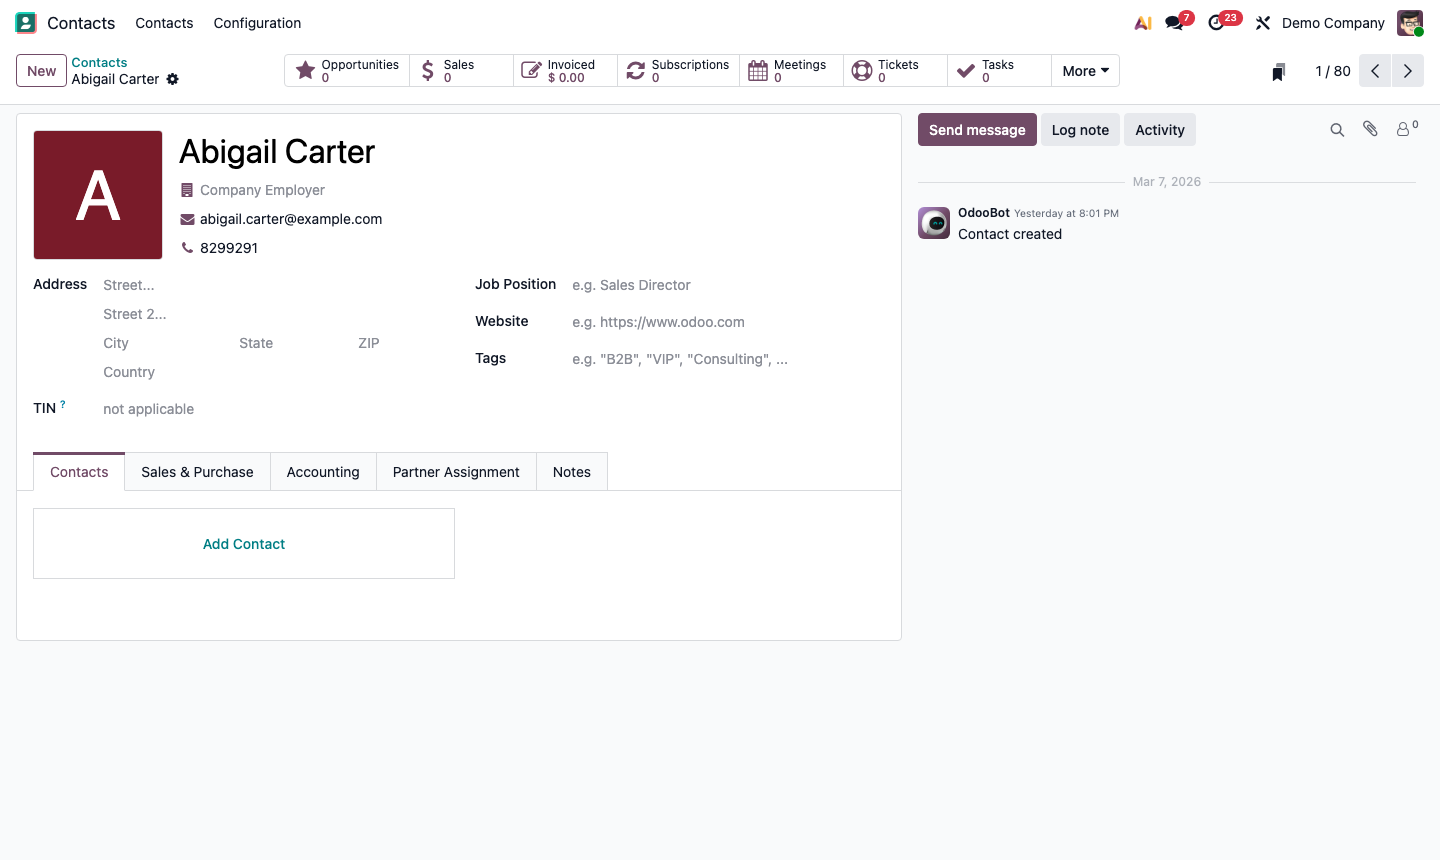
Open any contact. Find the Tags field (just below the name in the header area).

Click the Tags field and start typing. Odoo shows existing tags that match, or lets you create a new one by pressing Enter.

Tags are colour-coded for visual scanning in list views. To assign a colour, go to Contacts → Configuration → Tags, select a tag, and pick a colour.

Apply multiple tags per contact — e.g., a contact can be tagged as both “Enterprise” and “UK Prospect”.

Step 1: Contact record with Tags field showing multiple colour-coded tags applied

2

Create and Manage Tags

Go to Contacts → Configuration → Tags.

Click New to create a tag:

  • Tag Name — keep names short and consistent (e.g., “High Value”, “At Risk”, “Partner”)
  • Colour — pick a colour for visual identification

Tag naming conventions matter at scale. Consider a taxonomy like:

  • Tier: Enterprise / SMB / Startup
  • Region: EMEA / APAC / US
  • Status: Active / Prospect / Churned
  • Type: Customer / Vendor / Partner

This makes filter combinations powerful (e.g., “show me all Enterprise customers in EMEA”).

Step 2: Tags configuration list showing colour-coded tags with edit and delete options

3

Filter Contacts by Tags

In the Contacts list or Kanban view, use the search bar to filter by tag.

  1. Click the search bar.
  2. Select Tags from the dropdown.
  3. Choose a tag — the list immediately filters.

Combine multiple tag filters using the search bar. Odoo applies OR within the same filter category and AND across different categories.

Examples:

  • All contacts tagged “Enterprise” AND “EMEA”
  • All contacts tagged “Prospect” with a “Salesperson” of John Smith

Step 3: Contacts list filtered by tag showing search bar with tag filter applied

4

Save Filters as Favourites

Once you’ve built a useful filter combination, save it to reuse later.

  1. Set up your filters (Tags, Country, Salesperson, etc.).
  2. Click the search bar dropdown arrow.
  3. Click Save current search.
  4. Name the saved search (e.g., “UK Enterprise Prospects”).
  5. Optionally set as Default Filter (loads automatically when you open Contacts).
  6. Check Share with all users to make it available to your whole team.

Saved searches appear in the Favourites section of the search dropdown.

Step 4: Save current search dialog with name input and sharing options

5

Bulk Update Tags with Actions

To apply or remove tags from multiple contacts at once:

  1. Switch to List view.
  2. Select contacts using checkboxes (or select all with the header checkbox).
  3. Click Action → Set Tags.
  4. Add or remove tags in the dialog.
  5. Click Validate.

This is useful when onboarding a batch of contacts from an import, or reclassifying customers after a territory reorganisation.

Step 5: Bulk action menu on contacts list showing Set Tags option for selected records