Skip to content
Discuss

Team Communication

Discuss

Team Communication

Use channels, direct messages, and contextual chatter to keep all team communication organised within Odoo.

6 steps Updated Mar 7, 2026 SOP · Standard

Discuss is Odoo’s built-in team communication tool. It combines Slack-style channels, direct messages, and contextual record chatter — all in one place. Every email, note, and activity on any Odoo record (invoice, order, lead, employee) is logged here automatically.

1

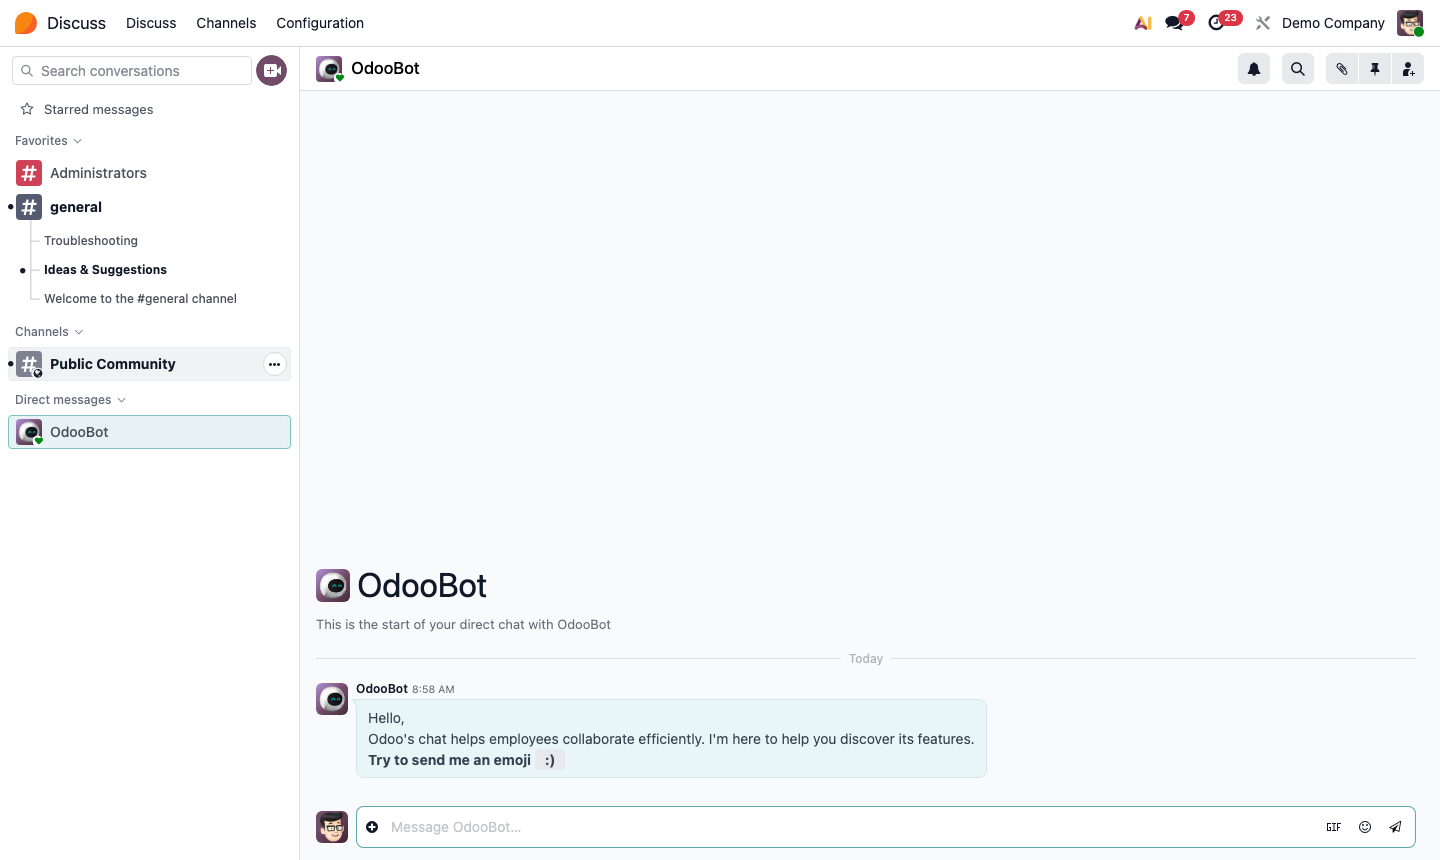
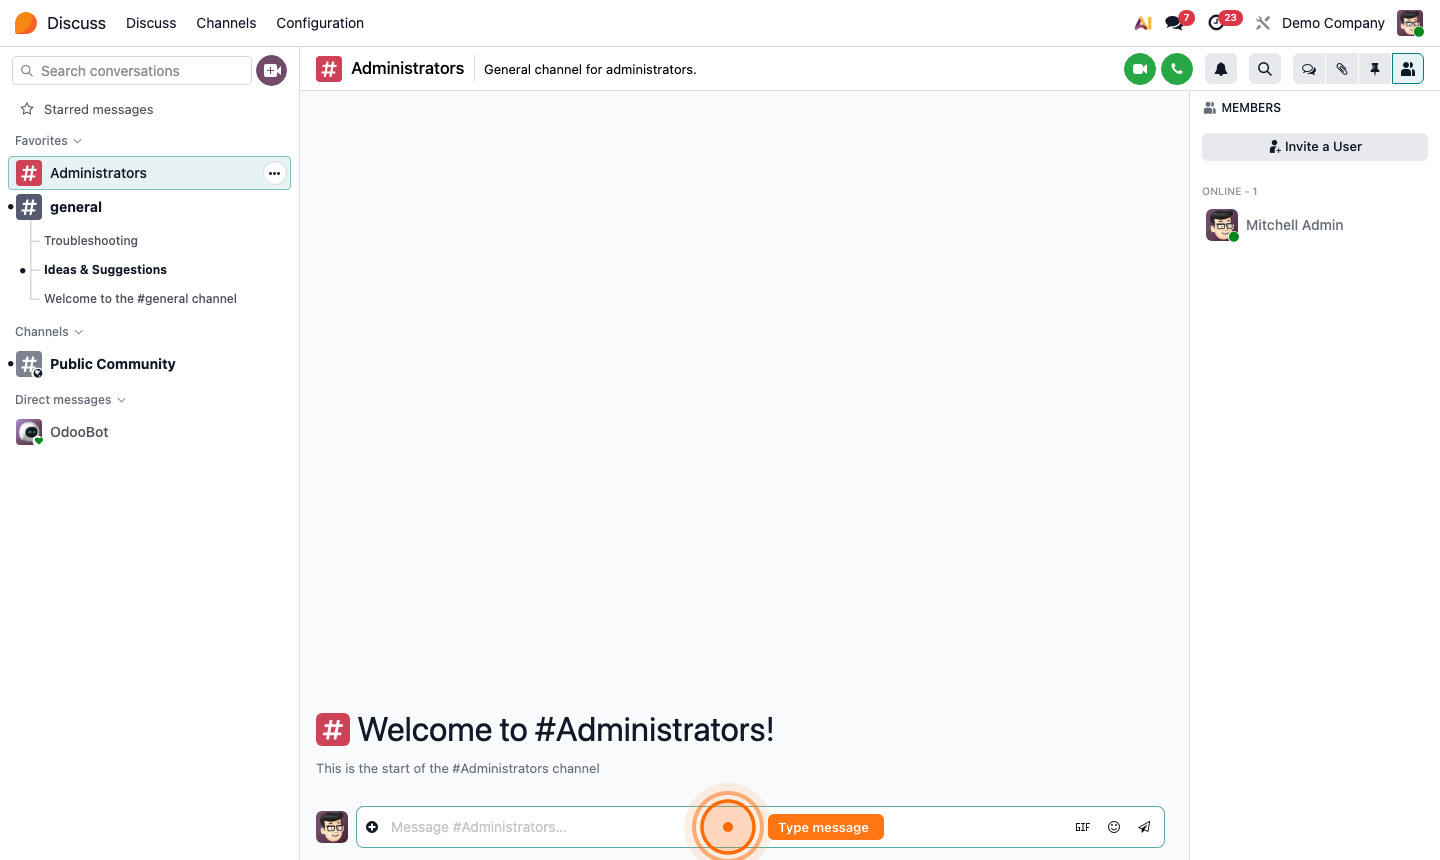
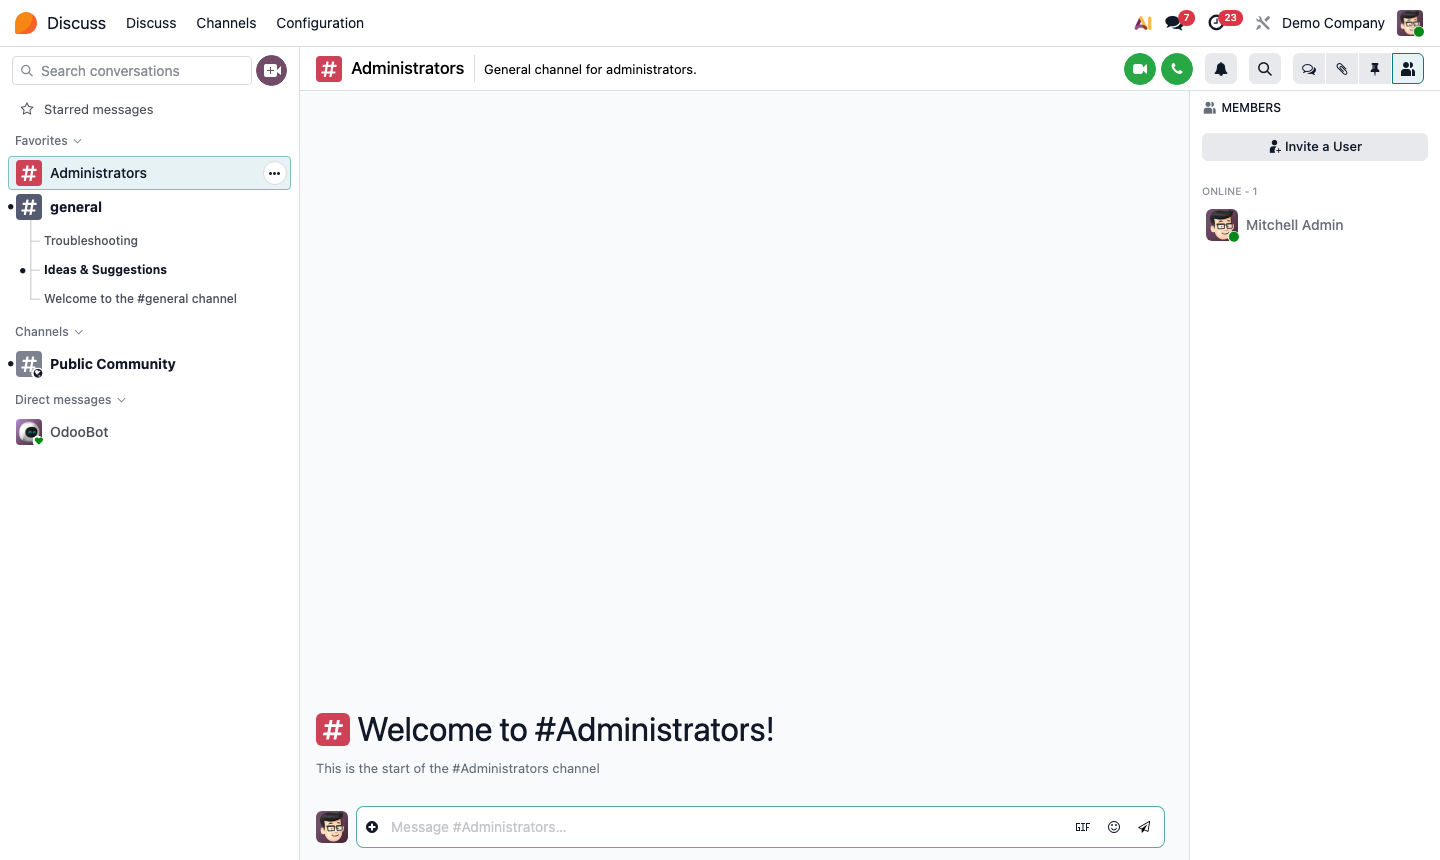
Understand the Discuss Layout

The Discuss interface has three areas:

Left Sidebar

  • Starred Messages — bookmarked messages from anywhere in Odoo
  • Favorites — channels you’ve pinned to the top
  • Channels — group conversations (e.g., #general, #sales, #support)
  • Direct Messages — private 1-on-1 or group chats

Main Panel — the active conversation

Right Panel — member list, pinned messages, and call controls (in channels)

A dot next to a channel name means there are unread messages.

Step 1: Discuss app layout with sidebar channels, main panel, and member list

2

Use and Create Channels

Channels are group conversations for teams, topics, or projects.

To use an existing channel:

  1. Click the channel name in the left sidebar.
  2. Type your message in the box at the bottom.
  3. Press Enter to send. Use Shift+Enter for a new line.

To create a new channel:

  1. Click the + icon next to “Channels” in the sidebar.
  2. Type the channel name (e.g., project-launch, support-escalations).
  3. Press Enter to create.
  4. Click Add Members (person+ icon at the top right) to invite colleagues.

Step 2: Discuss channel view with message thread and member list sidebar

3

Send Direct Messages

Direct Messages (DMs) are private conversations between two or more colleagues.

  1. Click the + icon next to “Direct Messages” in the sidebar.
  2. Search for and select one or more colleagues.
  3. Click Open to start the conversation.

DMs support all the same features as channels: file attachments, emoji reactions, GIFs, and voice/video calls.

Step 3: Direct message conversation with emoji reactions and file attachment option

4

Use the Chatter on Records

Every record in Odoo — Sales Orders, Invoices, Opportunities, Employees, Purchase Orders — has a chatter panel on the right side. This is where all communication related to that specific record is centralised.

Send message — sends an email to the linked contact (customer, vendor, etc.) AND logs it in the chatter. Replies from the contact thread back automatically.

Log note — adds an internal note visible only to your team. Not sent externally.

Activity — schedules a follow-up action with a due date and assigned user:

  • Phone Call
  • Email
  • Meeting
  • Document Upload
  • Custom activity types

Step 4: Odoo record chatter panel showing Send message, Log note, and Activity options

5

Schedule and Track Activities

Activities keep your team’s follow-ups organised across all Odoo records.

To schedule an activity:

  1. Click Activity in any record’s chatter.
  2. Choose the Activity Type (Call, Email, Meeting, etc.).
  3. Set the Due Date.
  4. Assign to a User (defaults to yourself).
  5. Add a Note for context.
  6. Click Schedule.

To view all your pending activities:

  • Go to Discuss → Activities (clock icon in the sidebar)
  • Or check the Activity view on any module’s list

Overdue activities appear as red icons on Kanban cards, making missed follow-ups immediately visible.

Step 5: Schedule activity dialog with type, due date, assigned user, and note fields

6

Start a Voice or Video Call

Odoo includes built-in audio and video calling — no third-party tool required.

  1. Open any Direct Message or Channel.
  2. Click the camera icon (video call) or phone icon (audio call) at the top right.
  3. A call panel opens inline — participants join by clicking the notification.

For larger team meetings, you can use the Custom SFU Server option in Settings to support more concurrent participants.

Step 6: Discuss channel with voice/video call panel open and participant controls