Skip to content
Employees

HR Basics

Employees

HR Basics

Create employee records, set up the org chart, manage contracts, and link employees to user accounts.

6 steps Updated Mar 7, 2026 SOP · Standard

The Employees module is your HR hub. It stores every team member’s professional and personal information, visualises your organisation chart, and integrates with Timesheets, Time Off, Expenses, Payroll, and Discuss.

1

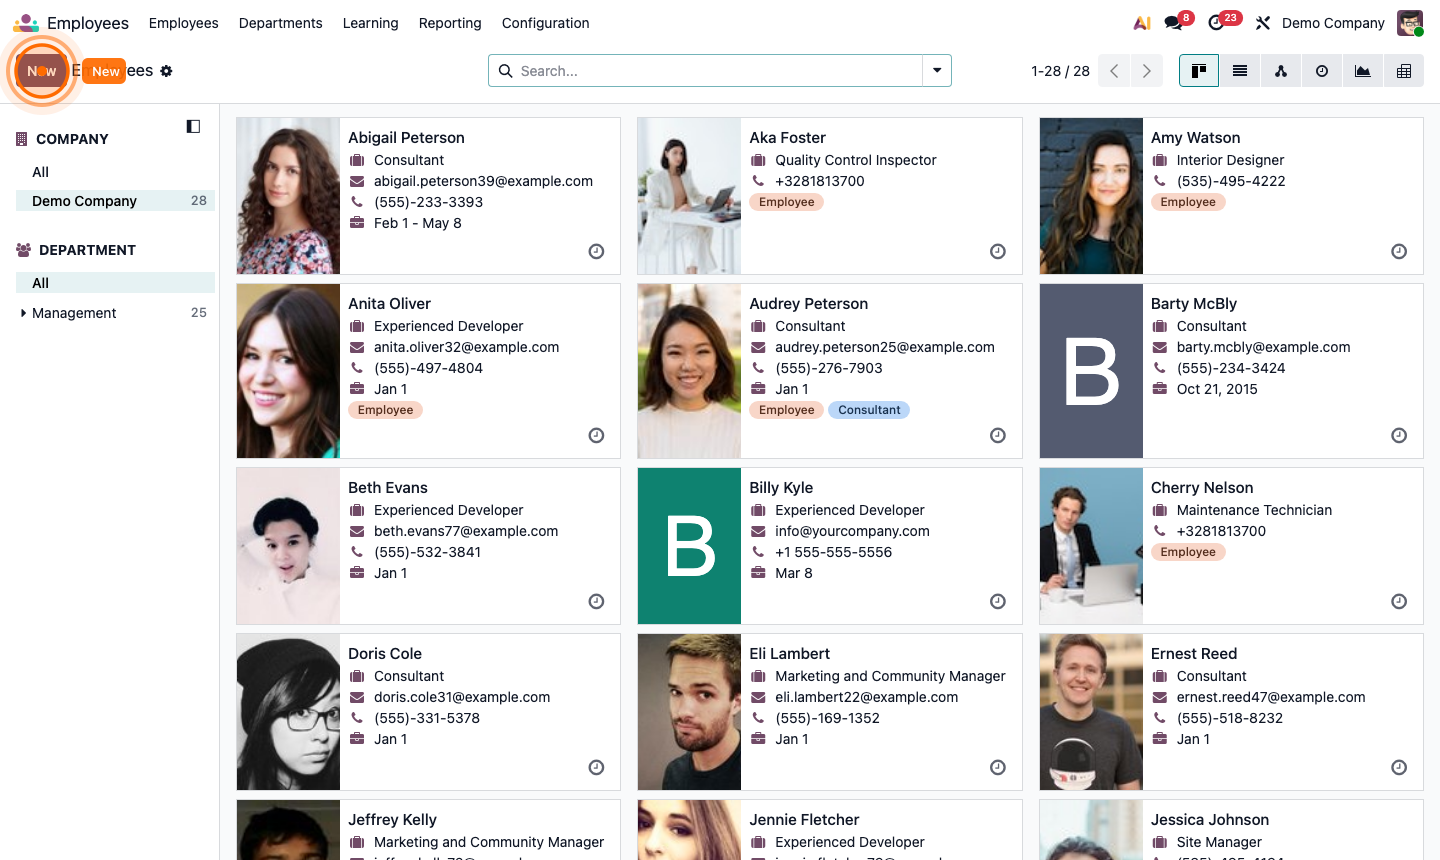
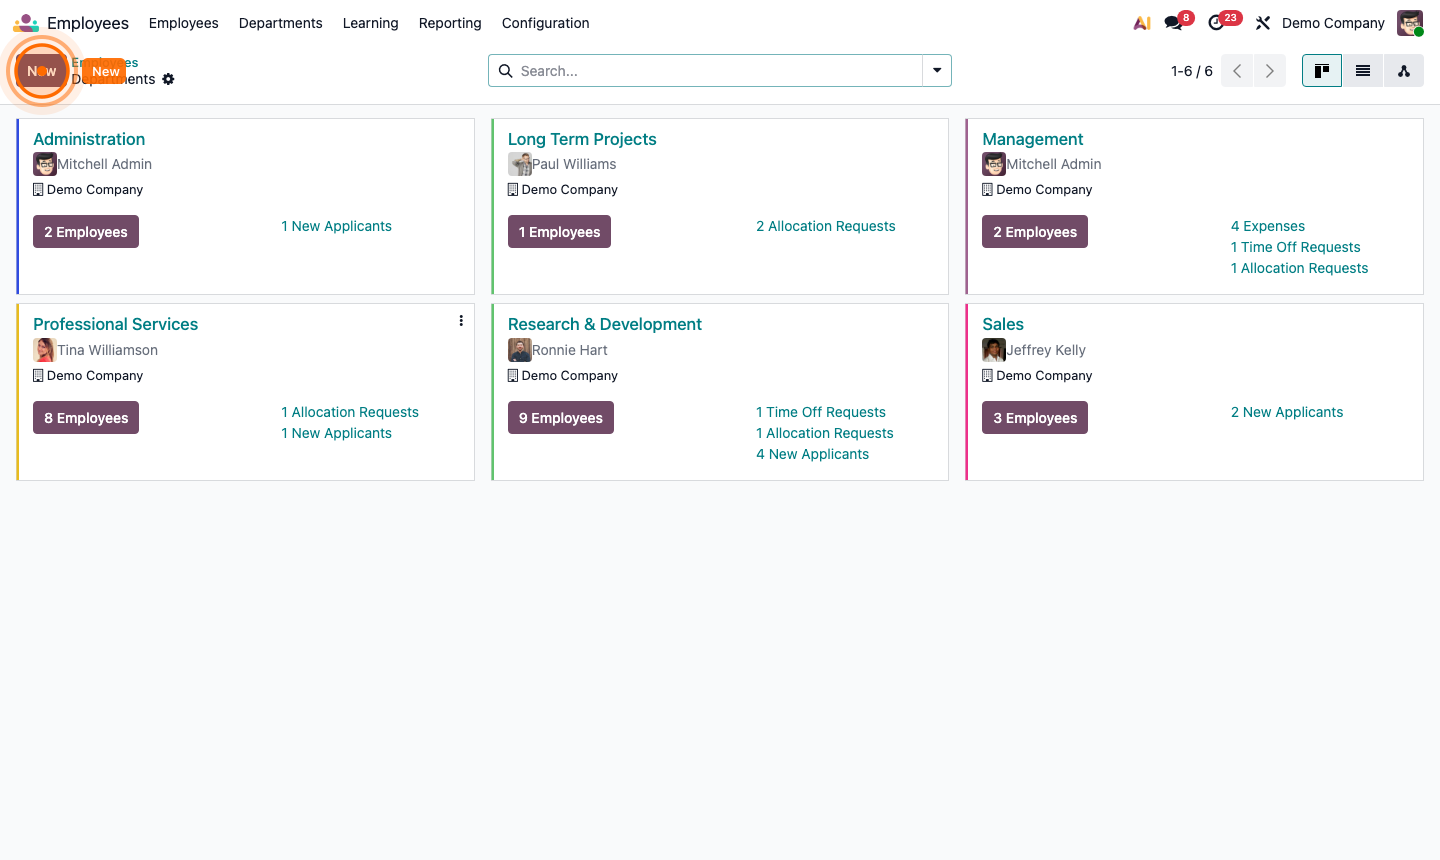
Browse the Employee Directory

The default view shows all employees as Kanban cards with photo, name, job title, email, phone, and contract dates.

Use the Department filter on the left sidebar to narrow the view by team. Switch to List view for a sortable spreadsheet layout, or Activity view to see pending HR actions across the team.

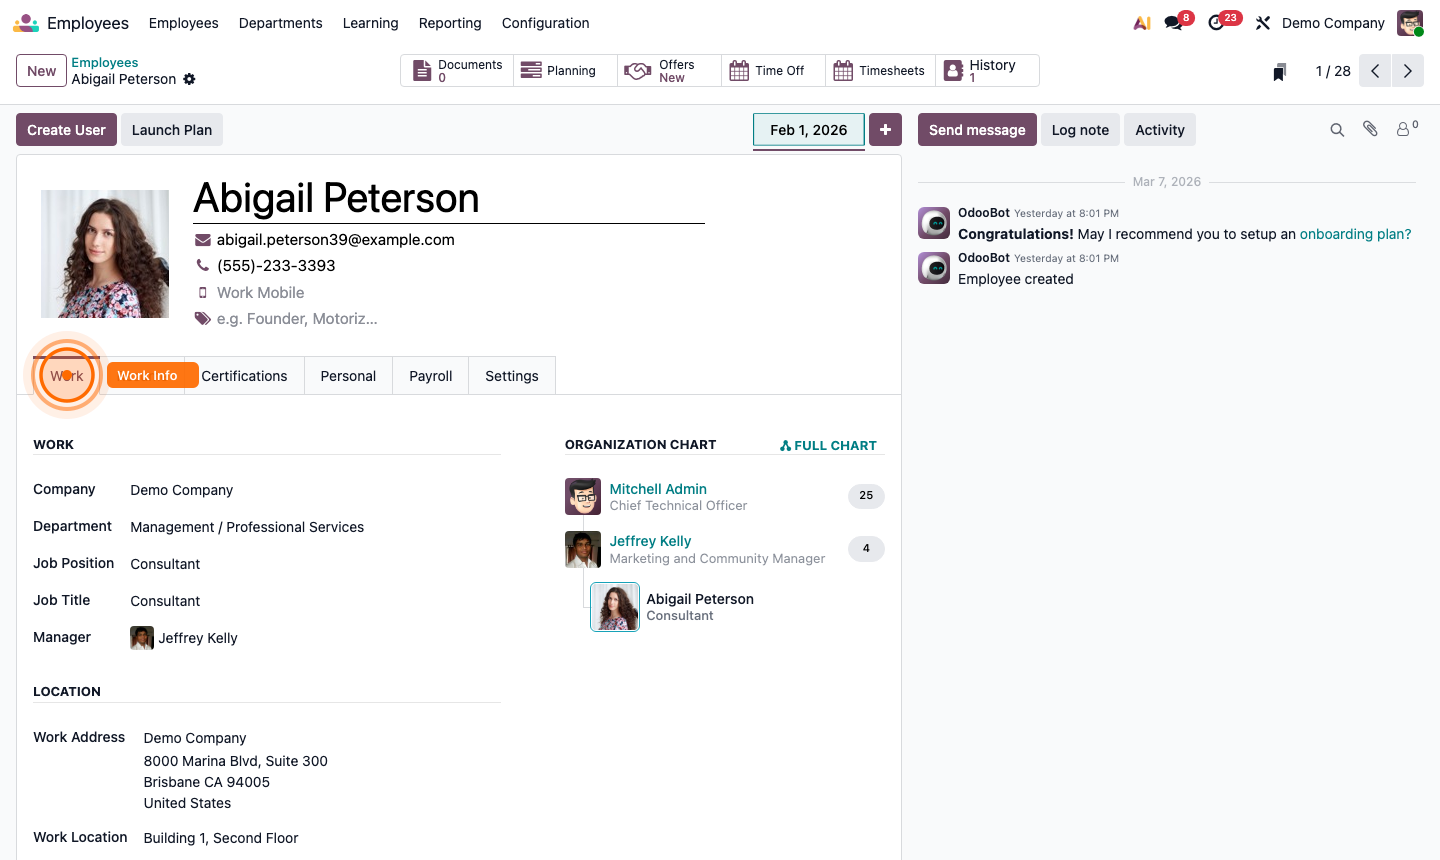
The top-right icons also offer an Org Chart view — a live visual of your company hierarchy.

Step 1: Employee Kanban directory with department filter sidebar and employee cards

2

Create a New Employee

Click New to open a blank employee form.

Fill in the header:

  • Full Name (required)
  • Job Position — select or create (e.g., “Sales Manager”)
  • Job Title — free text for the display title
  • Work Phone, Work Mobile, Work Email
  • Tags — e.g., “Employee”, “Consultant”, “High Potential”
  • Coach and Manager — sets reporting lines in the org chart

On the Work tab:

  • Company — which legal entity
  • Department
  • Work Location — Office, Home, or Other
  • Work Address — the physical office address

Step 2: New employee form with name, job position, contact fields, and Work tab

3

Add Personal & Resume Details

Click the Personal tab to record:

  • Personal address, phone, and email
  • Nationality, country of birth, date of birth
  • Identification documents (passport, national ID)
  • Marital status and number of dependents (used for payroll)
  • Emergency contact

Click the Resume tab to add:

  • Work Experience — previous roles with start/end dates
  • Education — degrees and certifications
  • Skills — select from a skills matrix (e.g., Python, Project Management)

These details are visible to HR managers and used in the Recruitment module when hiring.

Step 3: Employee Resume tab showing work experience, education, and skills matrix

4

Create a User Account for the Employee

To allow the employee to log into Odoo:

  1. From the employee record, click Create User at the top.
  2. Odoo creates a linked user account using the employee’s work email.
  3. An invitation email is sent automatically.
  4. Once logged in, the employee can submit timesheets, request time off, log expenses, and use Discuss.

Step 4: Employee record with Create User button and linked user account details

5

Set Up Departments

Organise your team into departments to enable filtered reporting and clear org chart groupings.

  1. Click Departments in the top menu.
  2. Click New to create a department.
  3. Enter the Department Name and assign a Manager.
  4. Click Save.

All employees assigned to this department will appear under it in the org chart and in department-filtered reports.

Step 5: Departments list with new department form showing name and manager fields

6

Manage Time Off

Once employees have user accounts and the Time Off module is configured:

  1. Employees can request time off from Time Off → My Time Off → New.
  2. Their manager receives a notification to approve or refuse.
  3. HR administrators can view all requests at Time Off → Managers → Approvals.
  4. Approved time off is blocked in the employee’s calendar and deducted from their allocation.

The Time Off smart button on each employee record shows their full leave history at a glance.

Step 6: Time off request list showing pending approvals and employee leave history