Skip to content
Inventory

Delivery Orders

Inventory

Delivery Orders

Process outgoing deliveries, manage partial shipments, print packing slips, and validate stock transfers for confirmed sales orders.

6 steps Updated Mar 7, 2026 SOP · Standard

Delivery orders are automatically created when a sales order is confirmed. This guide covers the full outgoing delivery workflow: picking, packing, validating, and handling partial shipments and backorders.

1

View Pending Deliveries

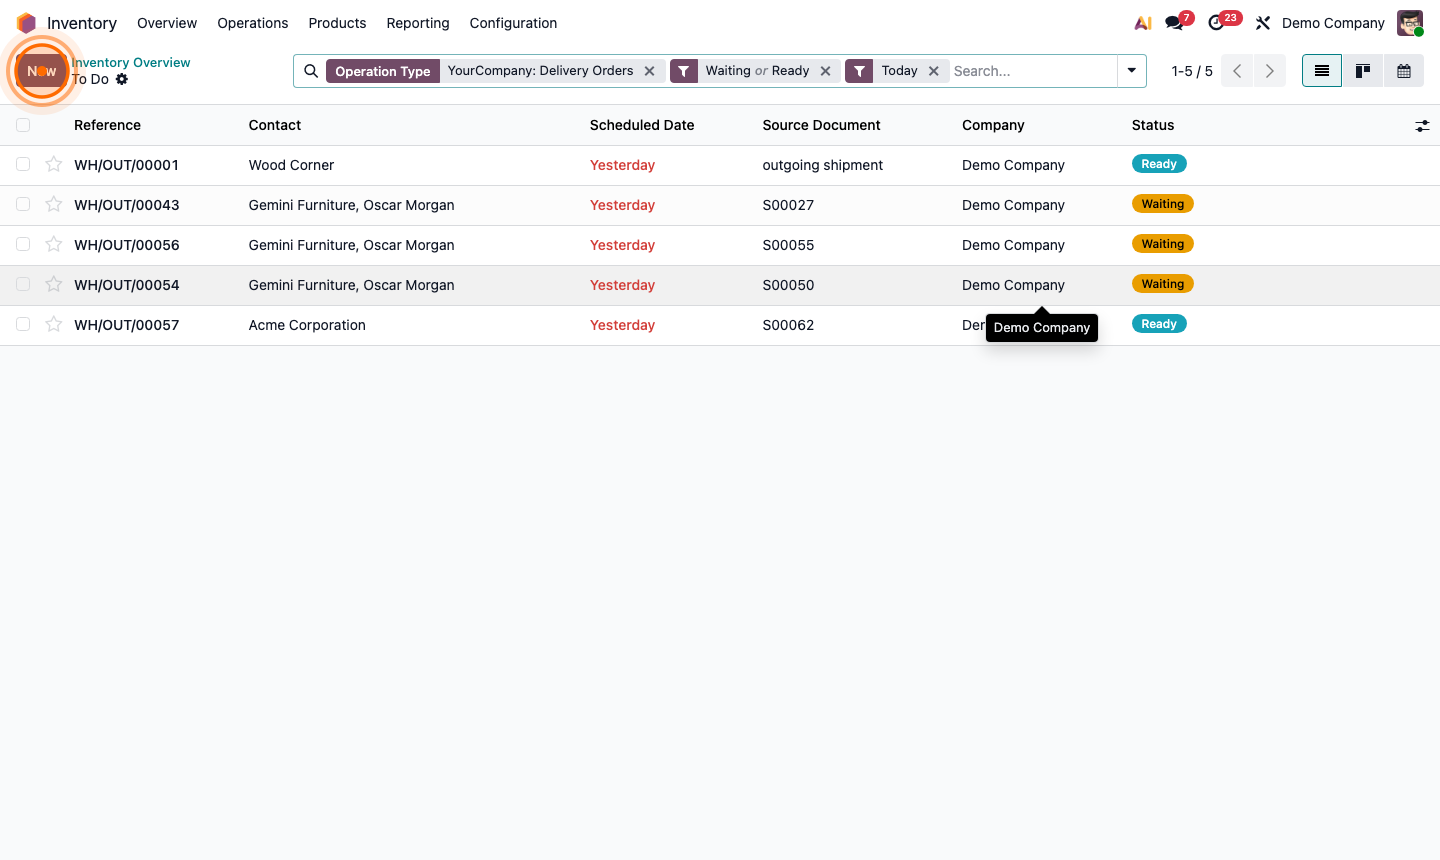
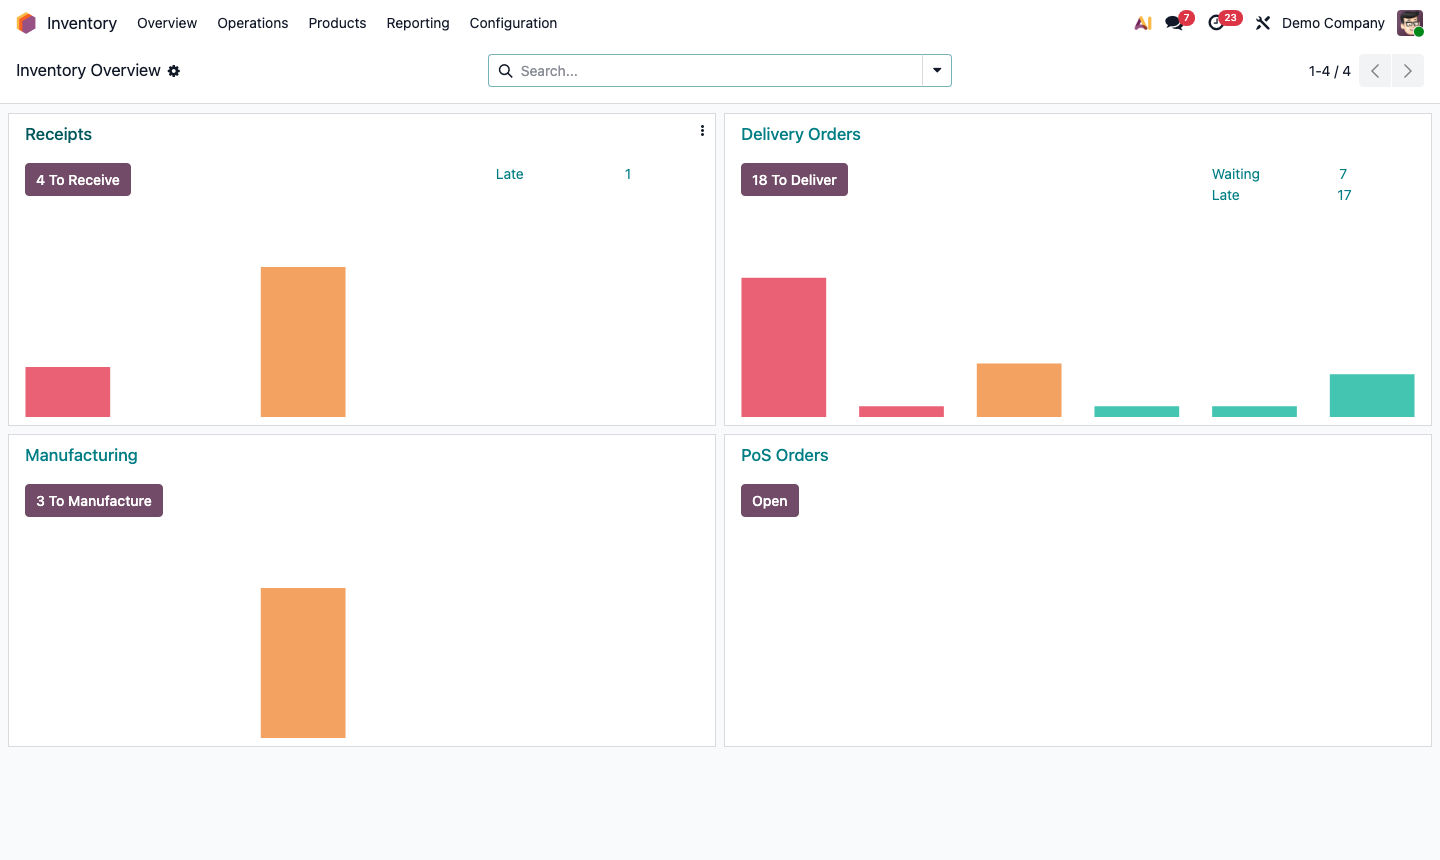
Go to Inventory → Overview. The Delivery Orders card shows how many deliveries are ready to process.

Click the card to open the delivery list. Use filters:

  • Ready — all required stock is available; can be validated now
  • Waiting — some products are not yet in stock (waiting on a receipt or production order)
  • Scheduled Date — filter by expected delivery date

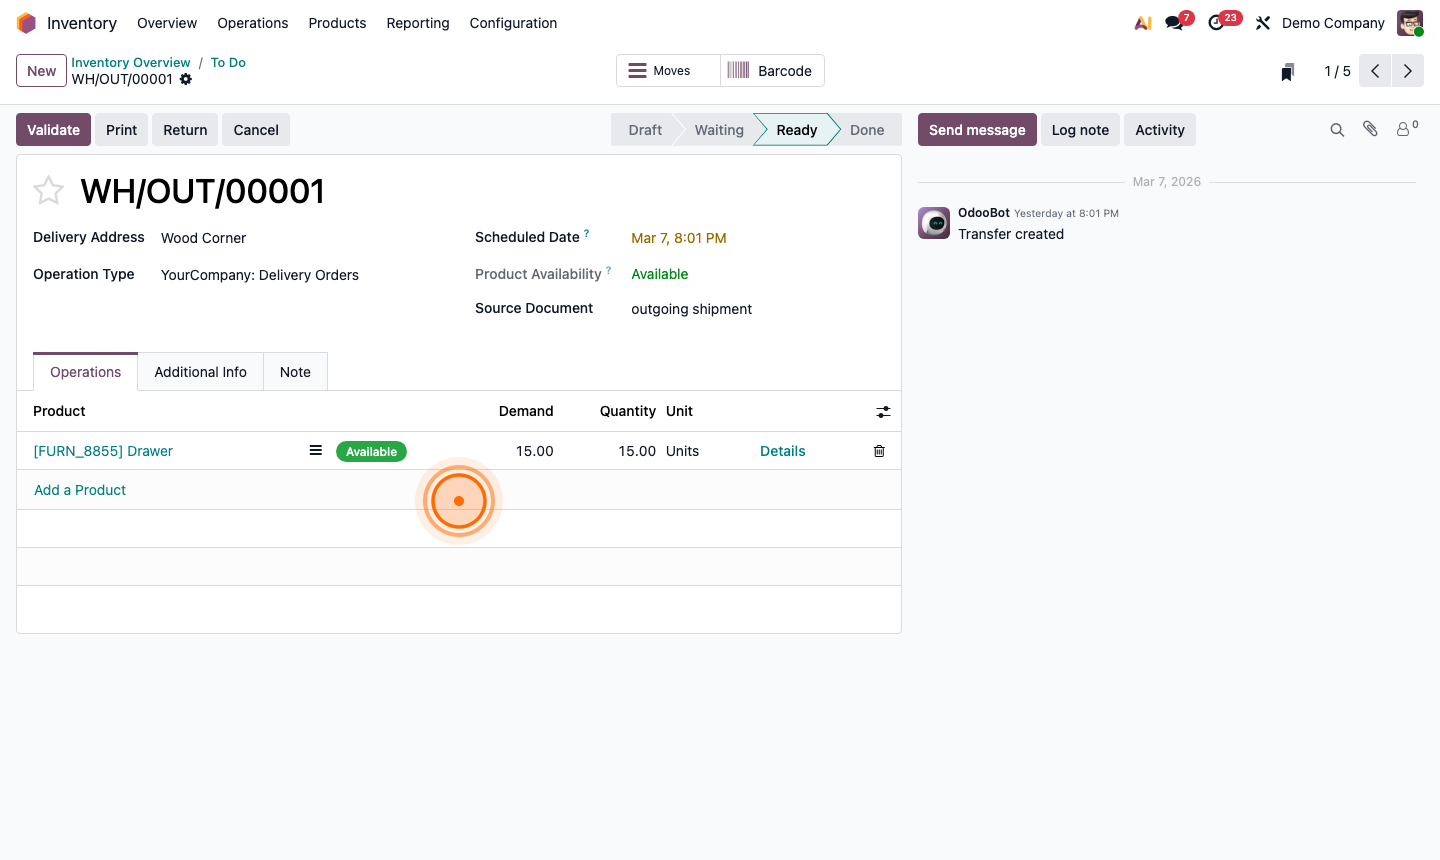
Each row shows: Sales Order reference, customer, destination, scheduled date, and status.

Sort by Scheduled Date ascending to prioritise oldest/most urgent deliveries first.

Step 1: Delivery orders list showing Ready and Waiting statuses sorted by scheduled date

2

Open and Review a Delivery Order

Click a delivery with “Ready” status to open it.

The delivery form shows:

  • Source — the sales order that triggered this delivery
  • Scheduled Date — the requested delivery date
  • Delivery Address — customer’s shipping address
  • Carrier — shipping method (if configured)

The Detailed Operations tab lists all products to pick:

  • Product — what to pick
  • Demand — quantity ordered
  • Done — field to enter the actual quantity picked

Review the demand quantities against actual stock before confirming.

Step 2: Delivery order form showing source document, destination, and product demand list

3

Pick and Pack Products

If your warehouse uses a Pick → Pack → Ship workflow (multi-step delivery), processing works in stages:

1-step delivery (default): Pick directly into the delivery order. 2-step delivery (Pick + Ship): A separate pick order is generated first. 3-step delivery (Pick + Pack + Ship): Three separate operations.

For 1-step delivery:

  1. Enter the actual Done quantity for each product line.
  2. If picking exactly what was ordered, click Check Availability → quantities auto-fill.
  3. For any shortfall, enter the available quantity in Done.

Print the Packing Slip (Print → Delivery Slip) to include in the shipment.

Step 3: Delivery form with Done quantity fields filled and Print Delivery Slip option

4

Validate the Delivery

After confirming the quantities are correct and products are physically packed:

Click Validate.

If you delivered the full quantity:

  • Stock is deducted from the warehouse
  • The sales order delivery status updates to “Done”
  • The customer’s portal shows the delivery as completed

If you delivered less than the full quantity, a dialog appears:

Step 4: Validate delivery dialog asking whether to create a backorder for unshipped items

5

Add Tracking and Shipping Labels

For carrier-managed shipments, integrate Odoo with your shipping provider to print labels and get tracking numbers.

Go to Inventory → Configuration → Delivery Methods. Click New:

  • Carrier — select FedEx, UPS, DHL, or your regional carrier
  • Integration — enter API credentials from your carrier account
  • Pricing — fixed fee, based on weight, or real-time carrier rates

On the delivery order:

  • Set the Carrier field
  • Click Generate Labels to get a tracking number and printable shipping label
  • The tracking number is stored on the delivery and shared with the customer via the portal

Step 5: Delivery method configuration showing carrier selection and API integration fields

6

Handle Returns and Reverse Transfers

When a customer returns goods:

  1. Open the original delivery order.
  2. Click Return at the top.
  3. In the return dialog, select which products to return and the quantities.
  4. Click Return — a reverse transfer (receipt) is created.
  5. When the goods physically arrive, validate the return receipt.
  6. Stock is added back to your warehouse.

To issue a refund, go to the linked sales order → Invoice → Credit Note.

Step 6: Return creation dialog showing product selection and quantity for customer return