Skip to content
Contacts

Managing Contacts

Contacts

Managing Contacts

Build and maintain your central address book of customers, vendors, and partners shared across all Odoo modules.

6 steps Updated Mar 7, 2026 SOP · Standard

Contacts is the single source of truth for all business relationships in Odoo. Every customer, vendor, and partner is stored here and shared seamlessly across Sales, Accounting, Purchase, and all other modules.

1

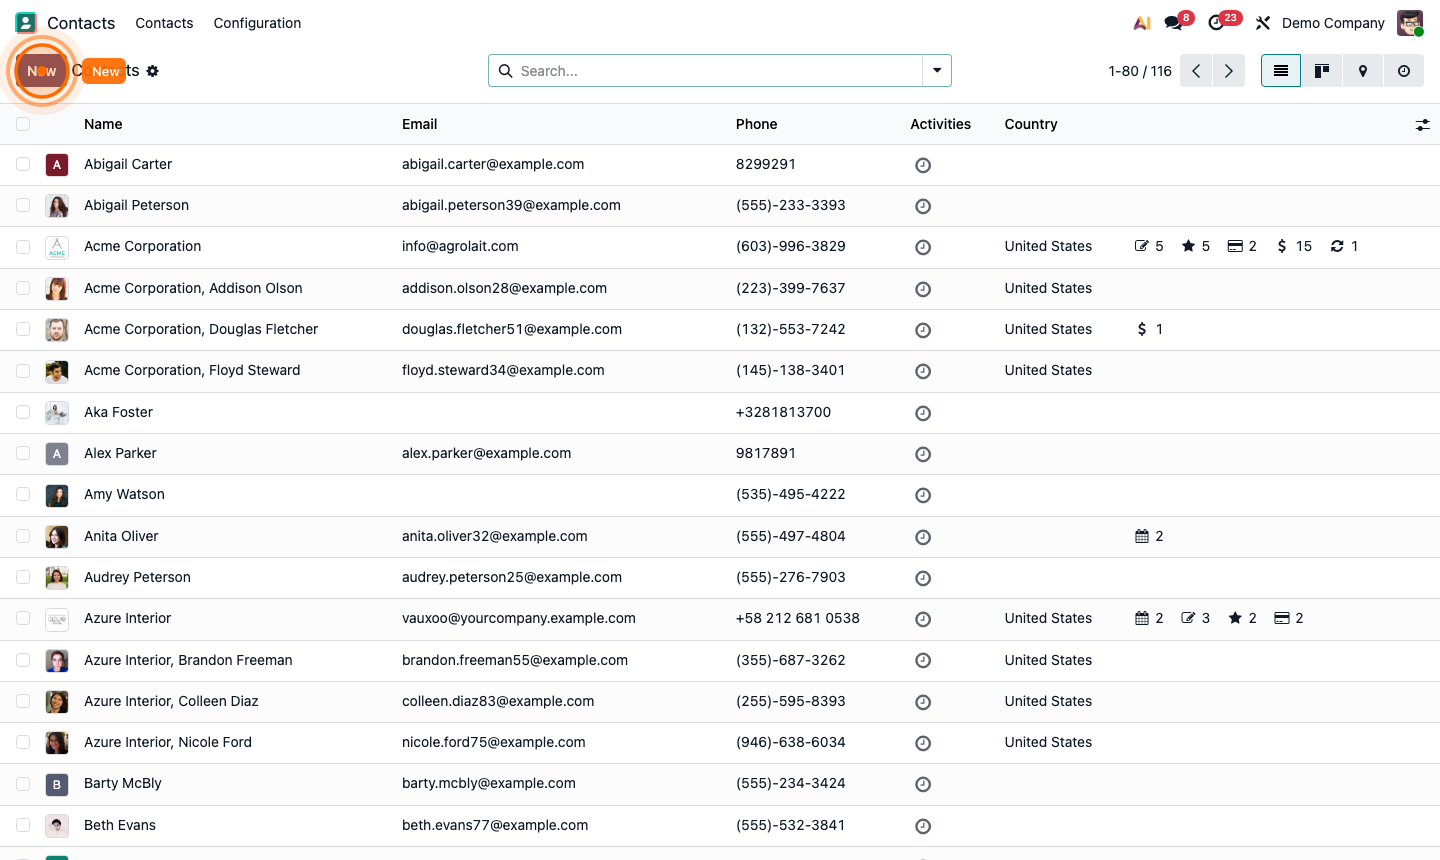
Navigate the Contacts List

The default view shows all contacts in a List format with name, email, phone, and country.

Switch views using the icons in the top-right corner: List, Kanban, Map, and Activity. Use the Search bar to filter by name, email, company, country, or tags.

Step 1: Contacts list view with all customers and vendors

2

Create a New Contact

Click New in the top-left corner. Choose Individual or Company at the top of the form, then fill in:

  • Name (required)
  • Company — if Individual, link to their employer
  • Job Position, Phone, Mobile, Email, Website
  • Address — Street, City, State, ZIP, Country
  • Tags — categorise as Customer, Vendor, Partner, etc.

Step 2: New contact form with all fields

3

Add Sub-Contacts to a Company

For company contacts, you can add individual contacts (employees) underneath them.

  1. Open the company record.
  2. Click the Contacts tab.
  3. Click Add Contact.
  4. Enter the individual’s name, role, email, and phone.
  5. Assign a Contact Type: Contact, Invoice Address, Delivery Address, etc.

This creates a parent-child relationship — the individual inherits the company’s address by default.

Step 3: Company record showing linked individual contacts

4

Configure Sales & Purchase Defaults

Click the Sales & Purchase tab on a contact to set default values used in transactions:

  • Salesperson — the team member responsible for this account
  • Payment Terms — e.g., “30 Days” for invoicing
  • Pricelist — overrides the default sales price for this customer
  • Fiscal Position — maps taxes for international customers/vendors
  • Bank Account — for vendors, add their bank details for payments

Step 4: Sales & Purchase tab with default settings

5

Add Financial Details

Click the Accounting tab to set:

  • Accounts Receivable / Payable — override default GL accounts if needed
  • Tax IDs — for tax reporting compliance

This tab is most relevant for contacts who are both customers and vendors.

Step 5: Accounting tab with financial configuration

6

Communicate via the Chatter

The right-hand panel on every contact is the chatter — a complete log of all interactions.

  • Send message — sends an email to the contact, logged automatically
  • Log note — records an internal note, not visible to the contact
  • Activity — schedule a follow-up action (Call, Email, Meeting)

The smart buttons at the top (Opportunities, Sales, Invoiced, Meetings) give a 360° view of all business activity linked to that contact.

Step 6: Contact chatter with communication history and smart buttons