Skip to content
Sales

Quotations & Orders

Sales

Quotations & Orders

Create and send quotations, confirm sales orders, and trigger invoicing and delivery from a single workflow.

7 steps Updated Mar 7, 2026 SOP · Standard

The Sales module covers the full quote-to-cash cycle. A quotation is a draft offer sent to a customer; once accepted and confirmed, it becomes a Sales Order that automatically triggers delivery and invoicing processes.

1

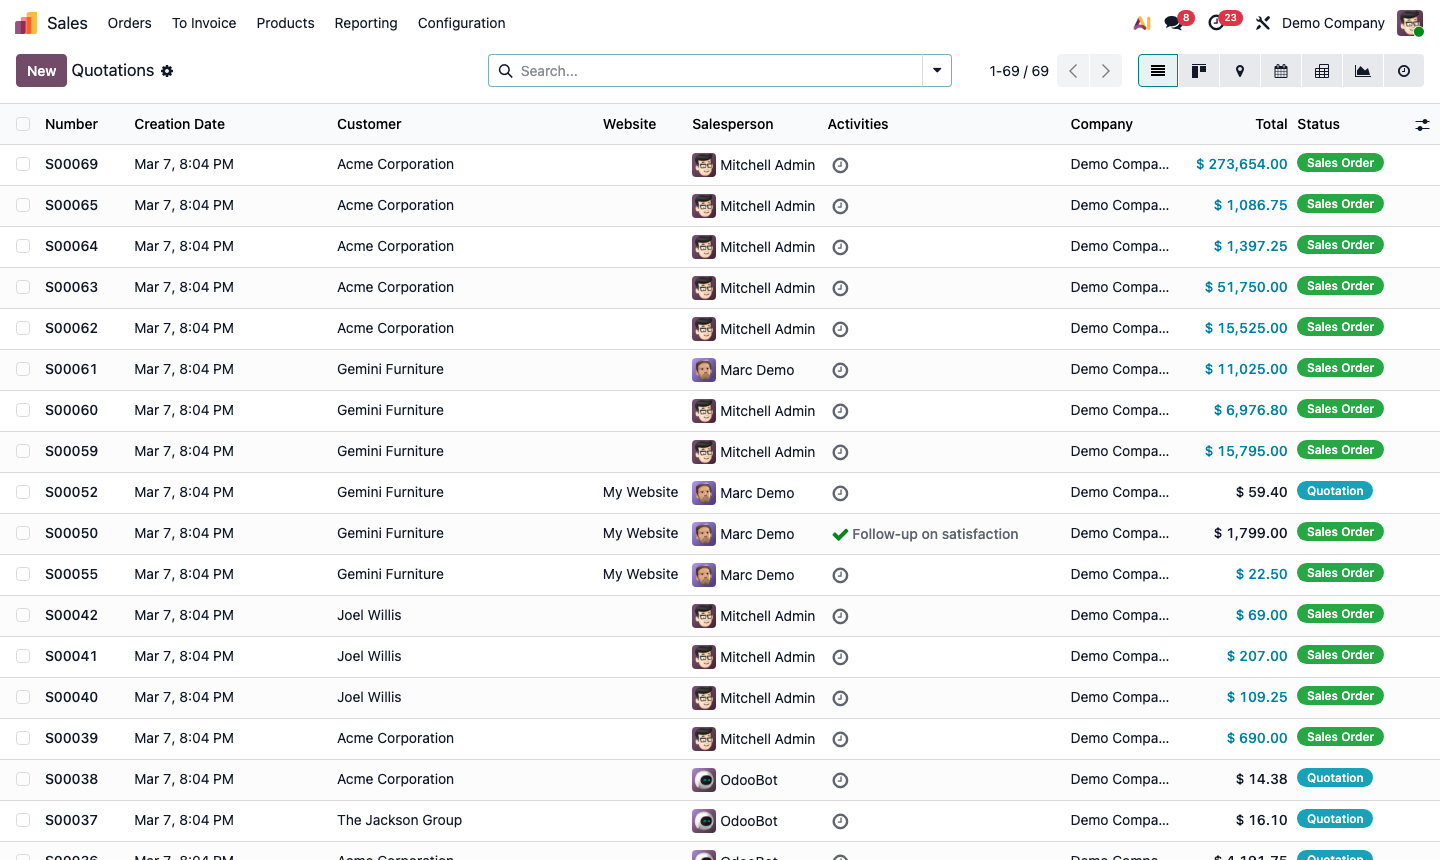
View Quotations and Orders

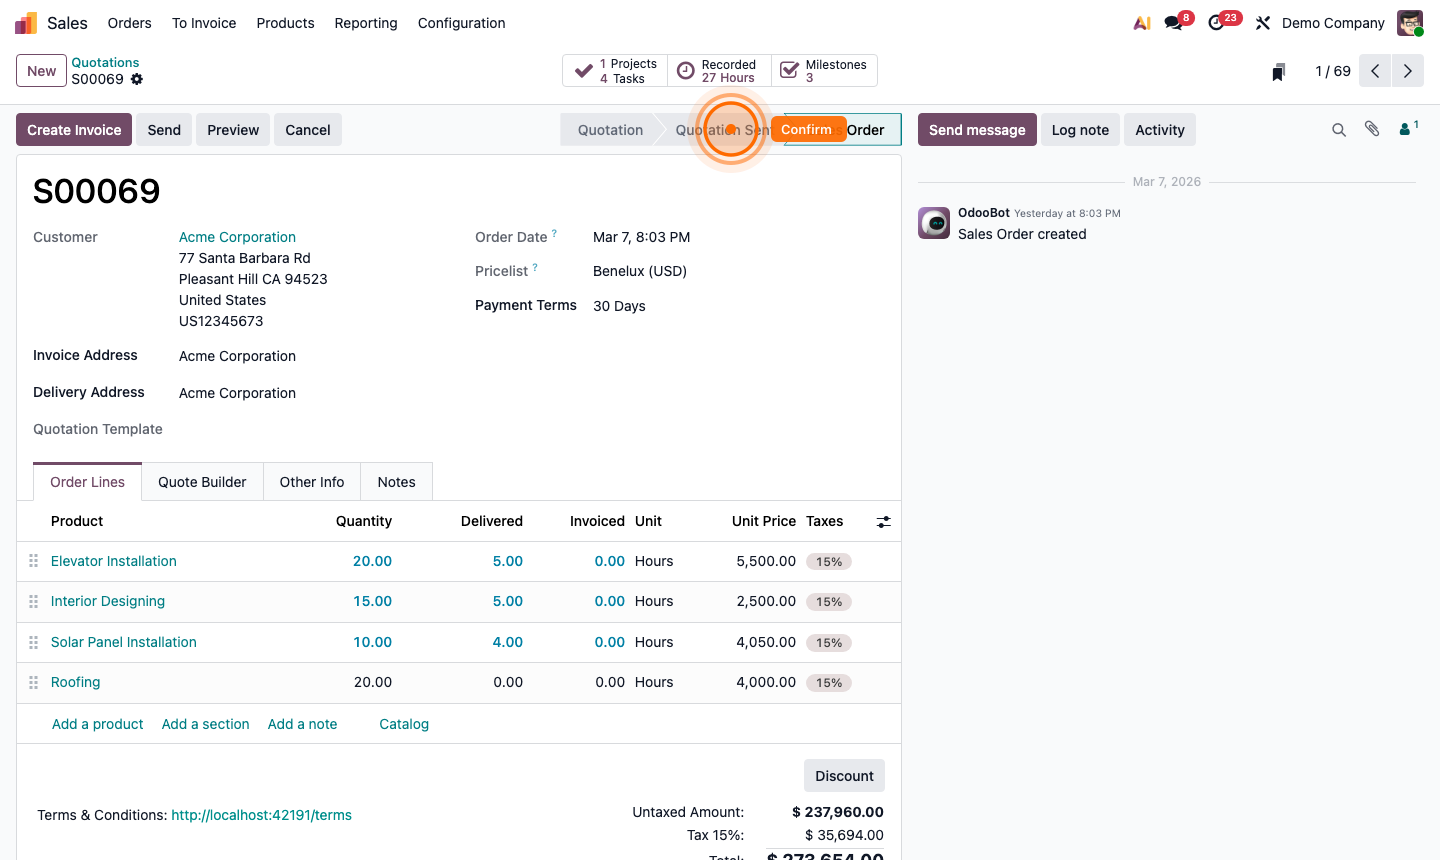
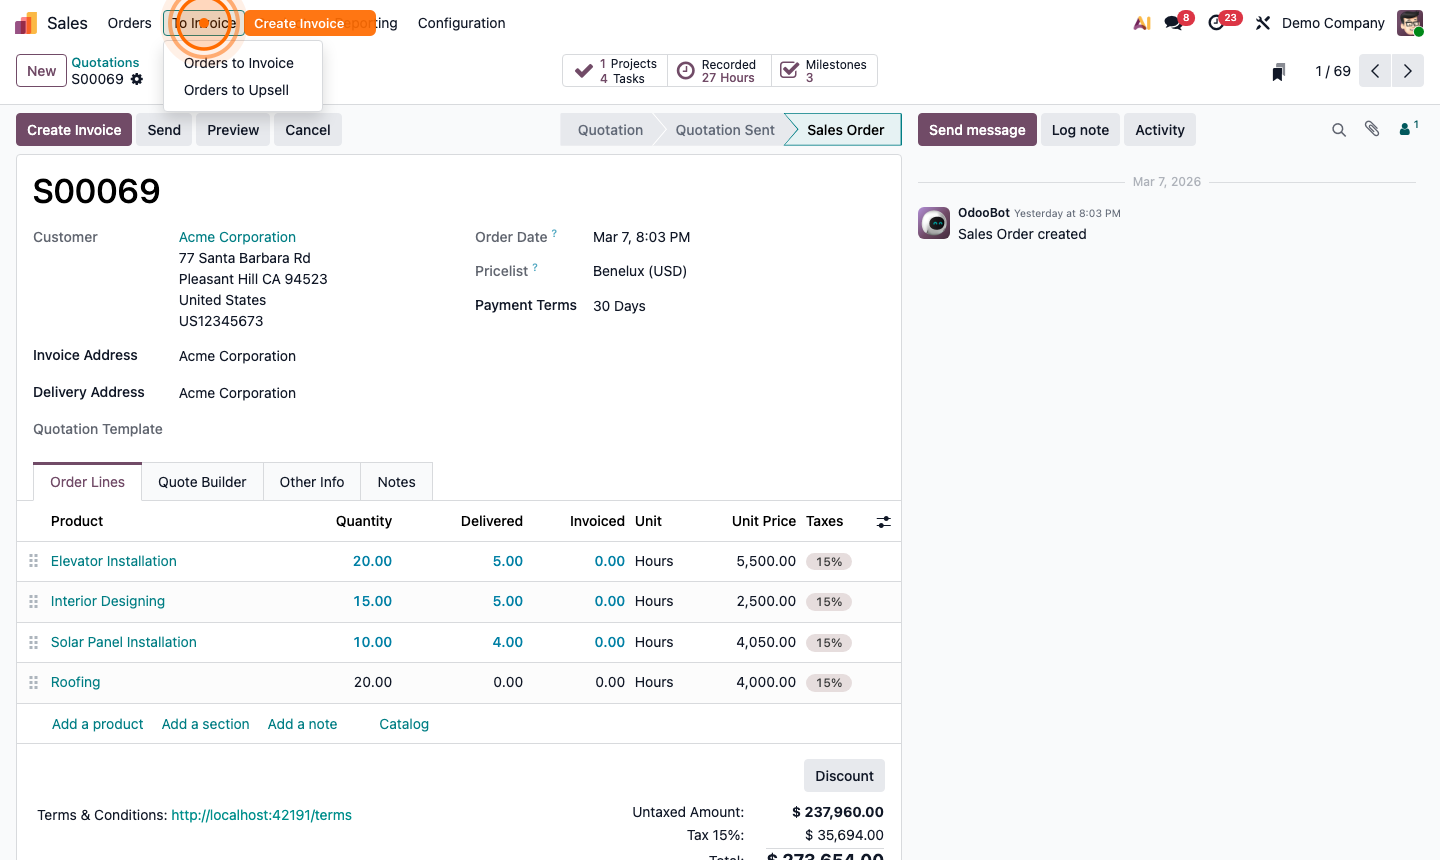
The Sales app opens on the Quotations list — all draft and sent quotes. Use the Orders top menu to switch to confirmed Sales Orders.

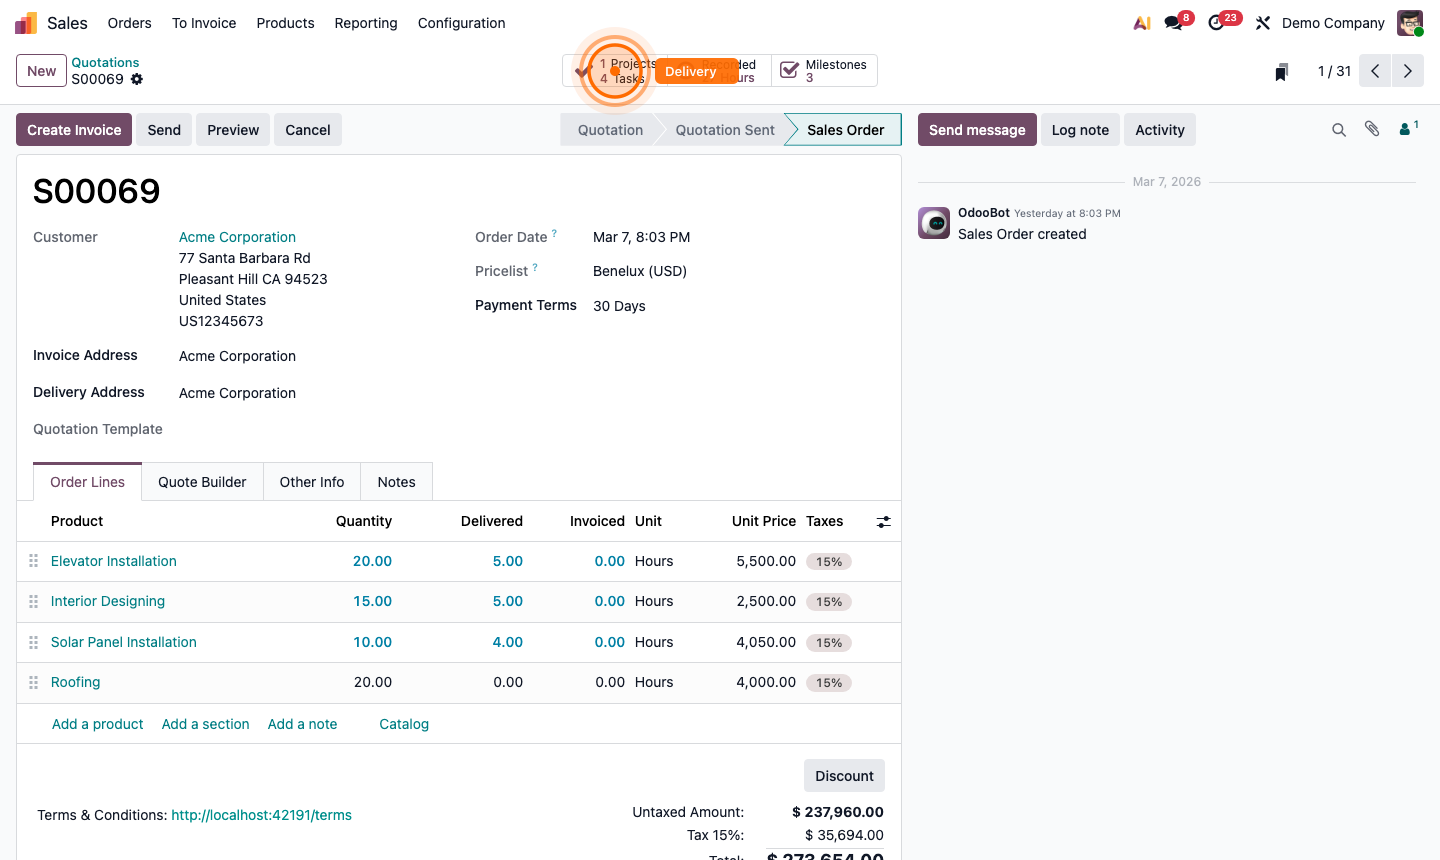
Each row shows: order number, date, customer, salesperson, total amount, and status badge (Quotation, Quotation Sent, Sales Order).

The search bar supports filtering by customer, salesperson, company, and date range.

Step 1: Sales quotations list with status badges and order summary

2

Create a New Quotation

Click New to open a blank quotation form.

Fill in the header:

  • Customer — select from Contacts; Odoo auto-fills address and payment terms
  • Quotation Template — (optional) pre-defined sets of products
  • Expiration — the date the quote becomes invalid
  • Pricelist — overrides standard pricing for this customer
  • Payment Terms — e.g., Immediate, 30 Days, 50% Upfront

Step 2: New quotation form with customer, expiration, and payment terms fields

3

Add Order Lines

Click the Order Lines tab. Click Add a product to add the first line.

For each line, set:

  • Product — search from the product catalog
  • Description — auto-filled from the product, editable
  • Quantity
  • Unit of Measure
  • Unit Price — auto-filled from the product pricelist
  • Discount (%) — optional
  • Taxes — auto-applied based on product and customer settings

Repeat for all products. You can also use Add a section to group lines, or Add a note for free-text lines.

Step 3: Quotation order lines tab with products, quantities, prices, and totals

4

Preview and Send the Quotation

Click Preview to see exactly what the customer will receive as a PDF — review layout, logo, line items, and totals.

When ready to send:

  1. Click Send.
  2. An email compose window opens with the PDF attached.
  3. Adjust the subject and body if needed.
  4. Click Send. Status updates to Quotation Sent.

The customer receives the email and can view the quotation online via a portal link.

Step 4: Send quotation email dialog with PDF attachment and customer email pre-filled

5

Confirm the Sales Order

Once the customer accepts:

  1. Open the quotation.
  2. Click Confirm.
  3. Status changes to Sales Order and a permanent order number (e.g., S00069) is assigned.

Confirming automatically:

  • Creates a Delivery Order in Inventory (for storable products)
  • Makes the order available for invoicing in Accounting

Step 5: Confirmed sales order with order number, Delivery and Invoice smart buttons

6

Track Delivery

Click the Delivery smart button at the top of the Sales Order to open the linked delivery order.

From the delivery order:

  • Verify quantities to ship
  • Record the actual quantities delivered in the Done column
  • Click Validate to confirm shipment and deduct stock

The delivery status reflects back on the Sales Order automatically.

Step 6: Delivery order form linked to sales order with Done column and Validate button

7

Create an Invoice

Once goods have been delivered (or based on your invoicing policy):

  1. Click Create Invoice on the Sales Order.
  2. Choose the invoice type:
    • Regular Invoice — full remaining amount
    • Down Payment (%) — invoice a percentage upfront
    • Down Payment (fixed) — invoice a fixed deposit amount
  3. Click Create and View Invoice.
  4. Review the invoice and click Confirm to post it.
  5. Send to the customer and register payment when received.

Step 7: Create invoice dialog on sales order with invoice type selection